Wednesday, October 23, 2013

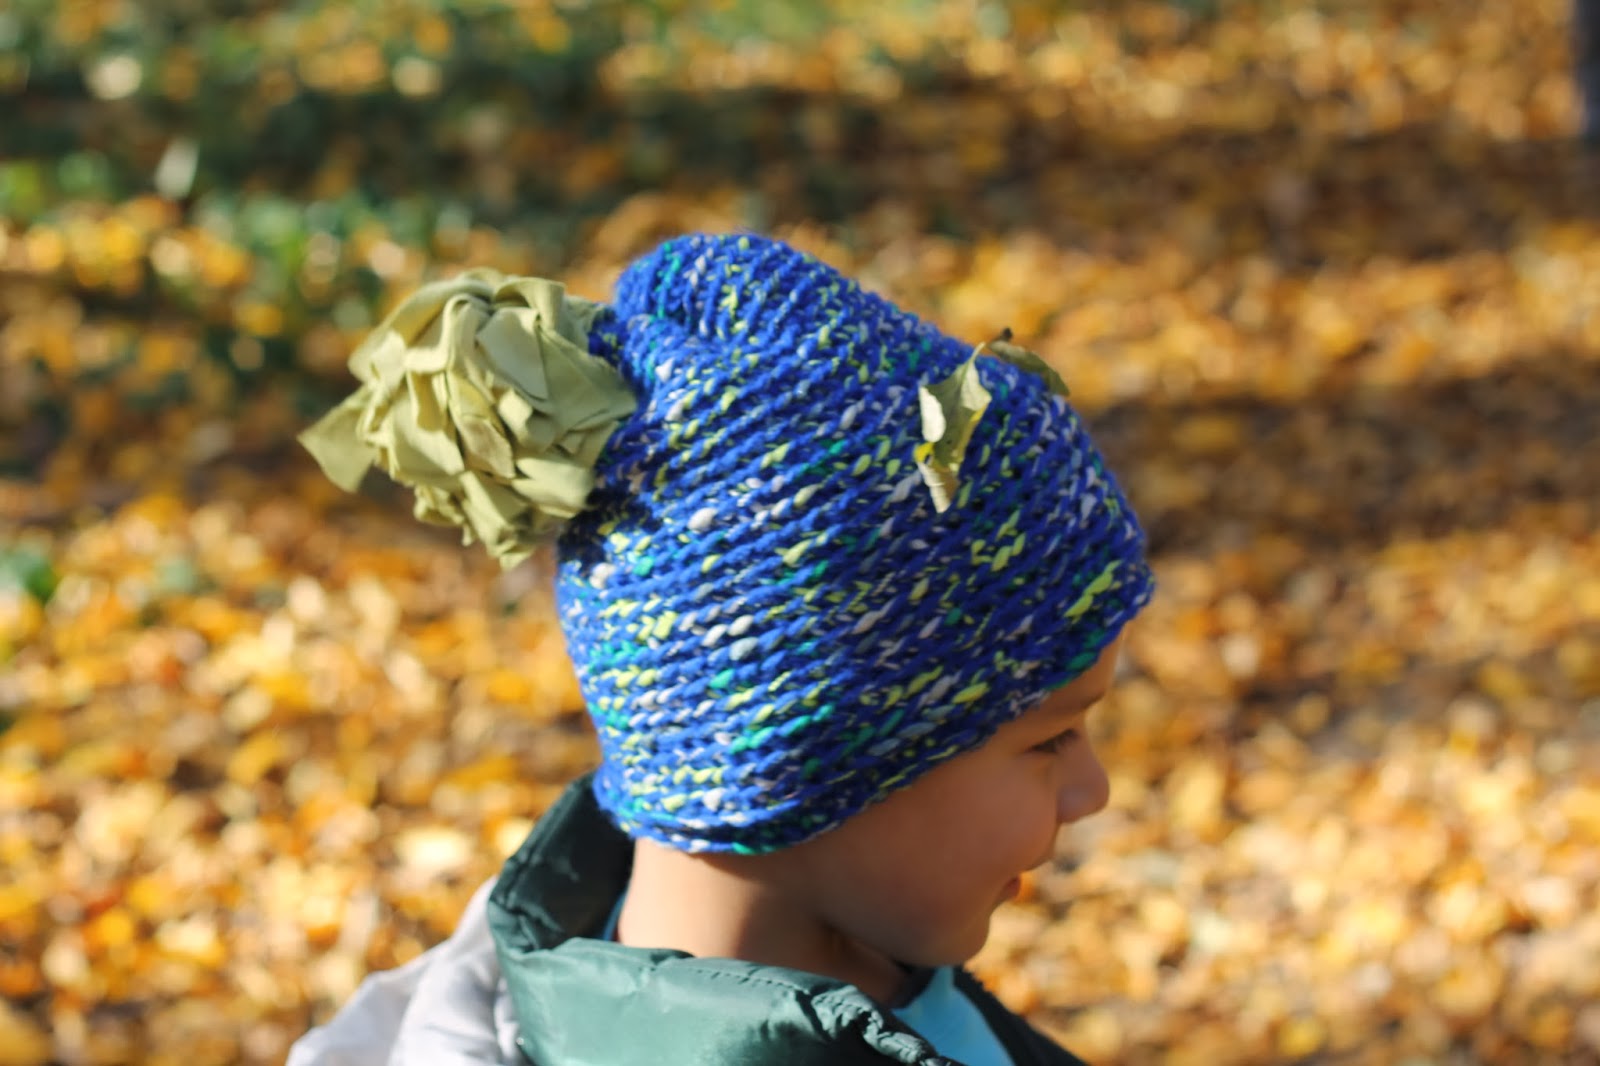
Mop beanie

I've only taken up crochet several months back but I only got as far as practicing some of the stitches for a few days. I do that often...get crazy about something and then forget about it completely.
So it happens,  I went to buy a circular cutter last week (which made making these color dipped pants sooo much easier) and I found some yarns I just couldn't resist. I've been looking for some fun boy-yarns ever since Peggy made this Fairy Hat for her daughter and this Schachenmayr Boston Style yarn came close enough to make me want to try again.


 I started with this video tutorial by Yolanda Soto Lopez, this is the easiest way to make beanies, you just crochet a big square and sew it together in the end. I love that you can do it without really thinking too much, no counting is necessary because you are just going strait and back. This is how I did the fist 4 rows, after the first chain which is the desired circumference of the hat I did a single crochet stitch into the back of my loop, this causes the ribbed look when you turn your crochet after each row.

Except that after 4 rows I decided that it doesn't make sense to have to sew up the hat in the end, why wouldn't I just make a circle chain one into the first loop of that row and continue crocheting in circles, which basically caused that braided look, because I didn't have to turn my crocheting anymore.
As for the pompom, I was going more for this look but T-shirt yarn I cut up smply did not want to curl up and this is how we ended up with a MOP BEANIE.


Tuesday, October 22, 2013

Color dipped boy

Continuing on my quest to prolong the life of P's pants...
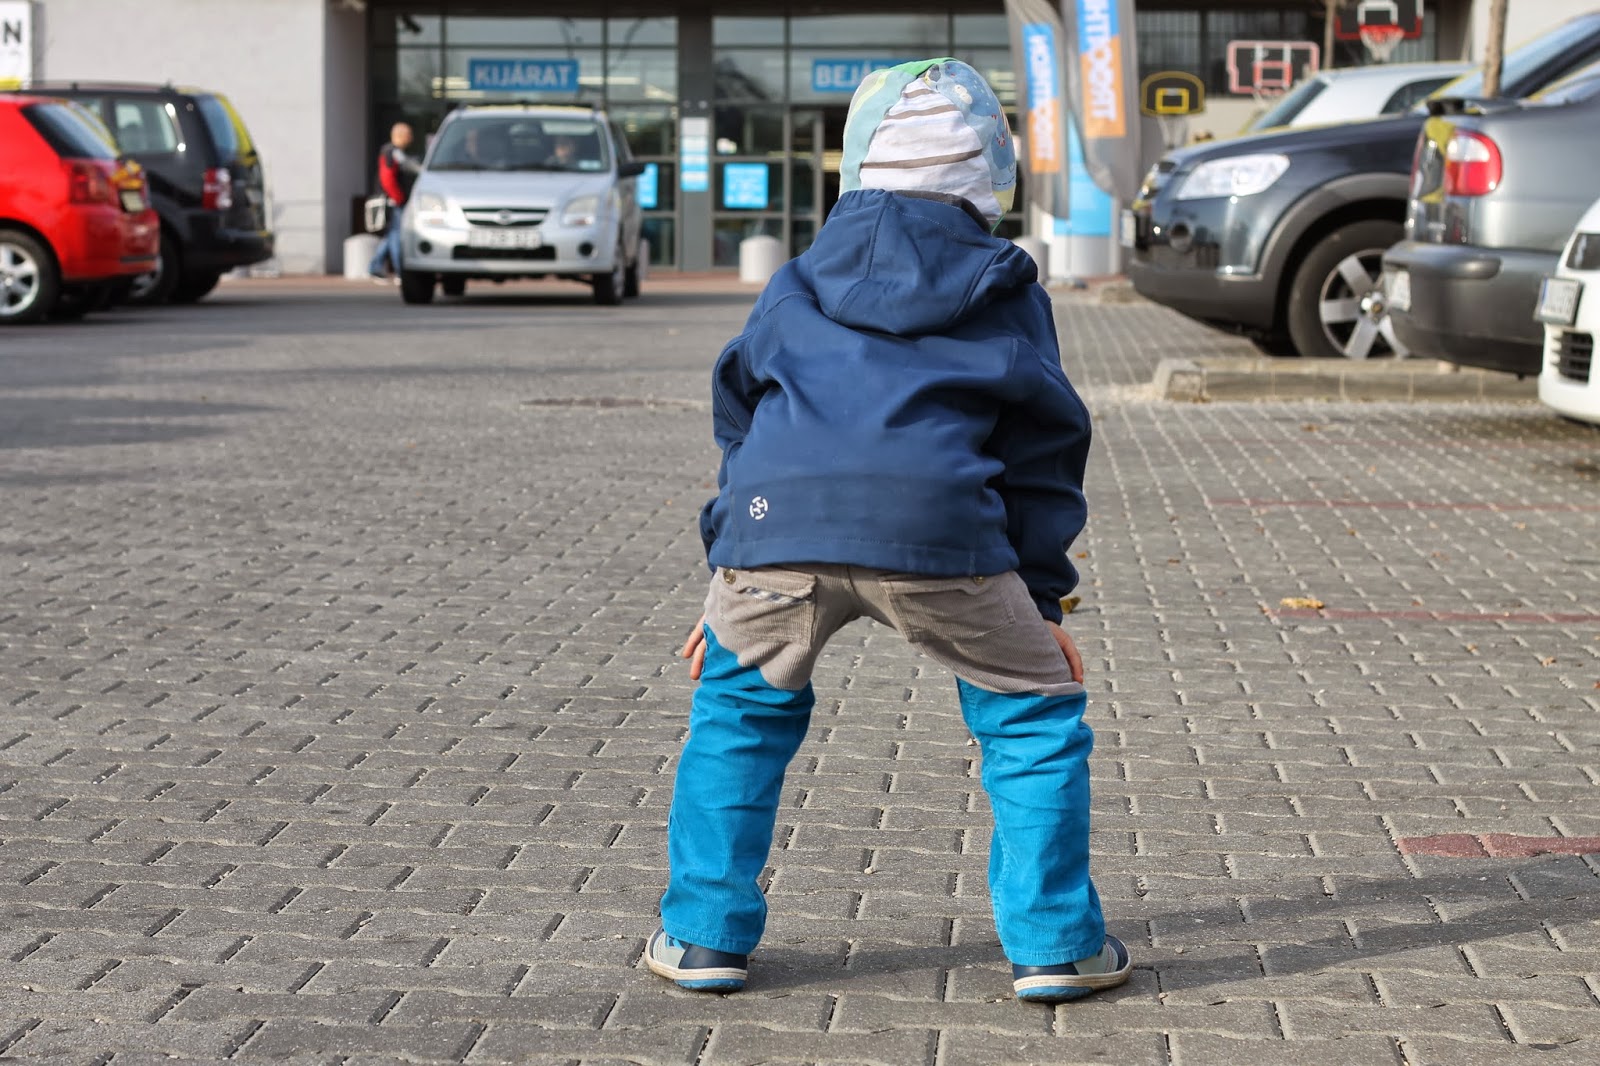
His grey corduroys got outgrown for the second dime. The first time I just let down the seems to the maximum. Since he loves this pants, not only they were short, they were seriously worn out, and weirdly only on the left knee and thigh. As I didn't want to cut the pants to look like hot pants, I cut them at an angle that could go across both legs and cover all the areas that needed to be cut off, but still give me enough fabric of the other pants to attach and lengthen a little.They look like I dipped them in colour:)


Enough already...


The beanie on the above photos is also a project from my first KCWC two years ago.

Monday, October 21, 2013

Plaid times two

It is KCWC week. Yeeeey!!! I love KCWC, two years ago I started blogging so I could participate in it. It got me back to sewing and for that I will forever be grateful. Apart from that, it is just a crazy exciting week that makes numerous women around the world turn in crazy sewing ladies. As for me, I am one of them too, I sew long into the night and sometimes make the kids try the stuff on before they leave in the morning. Hell, I had my son wear a dress just for the sake of a photo. I got to love upcycling and dropped my fear of knits.
Back when I started sewing I only wanted to do new stuff, buy a fabric, draft a pattern and sew something for my evening out. I never wanted to sew the same thing twice, I thought that was boring. AND, I hated it when my mom asked me to fix something, change a zipper or shorten some pants... and now that is all I do, clothes wise, I mostly fix or refashion stuff, and I love it. To make something from nothing is great, but to repurpose and reuse the same piece of clothing several times gives me butterflies.
My first KCWC project was a sweats upcycle for a skinny 2.5 year old. Now I have a 4.5 year old, whose pants become too short too soon, and I simplycan't make myself just buy new ones and set these aside, too easy:)

So here is out brown plaid pant getting a blue plaid (actually the same one as in that first KCWC project) cuff and some other blue accents to accompany it.


Mustard details off...

and blue on!


I added some blue accent to go with the cuff, took off the buttons and sewed them back on with blue yarn. I even coloured the embroidery with a blue fabric marker.


He's been wearing these since he was 2. When I let down the seem there was so much fabric there that I almost didn't even need a cuff, but it was so much more fun this way:)
What do you think?