Technically, the first day of
Kids clothes week challenge was yesterday, but since I finished my first projet at 2 AM, I can only write about it today. This is my first ever sewing challenge and I am really excited to show you what I've done. So let's start:
Besides the KCWC I decided to challenge myself a bit further, an not buy ANYTHING new, to see where I get with stuff I have at home, and here is what I came up with:
I have a skinny 2.5 year old, who still fits into his pants from a year ago, with one tiny problem...they are all too short, so I decided to start with that.
A too short track suit bottom, cargo pants mom doesn't fit into anymore, and a skirt mom never really fitted into in the first place.
Other things you will need:
-scissors
-sewing machine
-thread in your colour of choice
-measuring tape
-taylors chalk
-spirit level (if you want to to it exacly the way I did:)
I didn't really like the shape of pant legs, they were too baggy, so I decided to straiten them just a little bit. This is where the spirit level came in handy.
NOOOO, you don't really need a spirit level for this step..I just didn't have anything else on hand.
I was going to sew along the chalk line first, but then I realised it will be much easier to put in the pocket if I just cut the legs open.
This what my pants looked like at that point, and the print is where I wanted the pocket - to cover it.
Enter the cargo pant:
I cut out the whole pocket , then I resized it roughly to the size I needed to cover up the print on my track suit bottom, then I tried to trim it as nicely as I could to make a square. Because all the edges of the pocket would stay visible, I zigzagged it all around with a tiny zigzag, pinned it nicely where I wanted them, ans sewed around with strait stitch.
Now, I don't have a separate photo for this, but the small triange corner on the right side of the pocket had to be sewn on separately, so we could have a real pocket, not just a mimicked one.
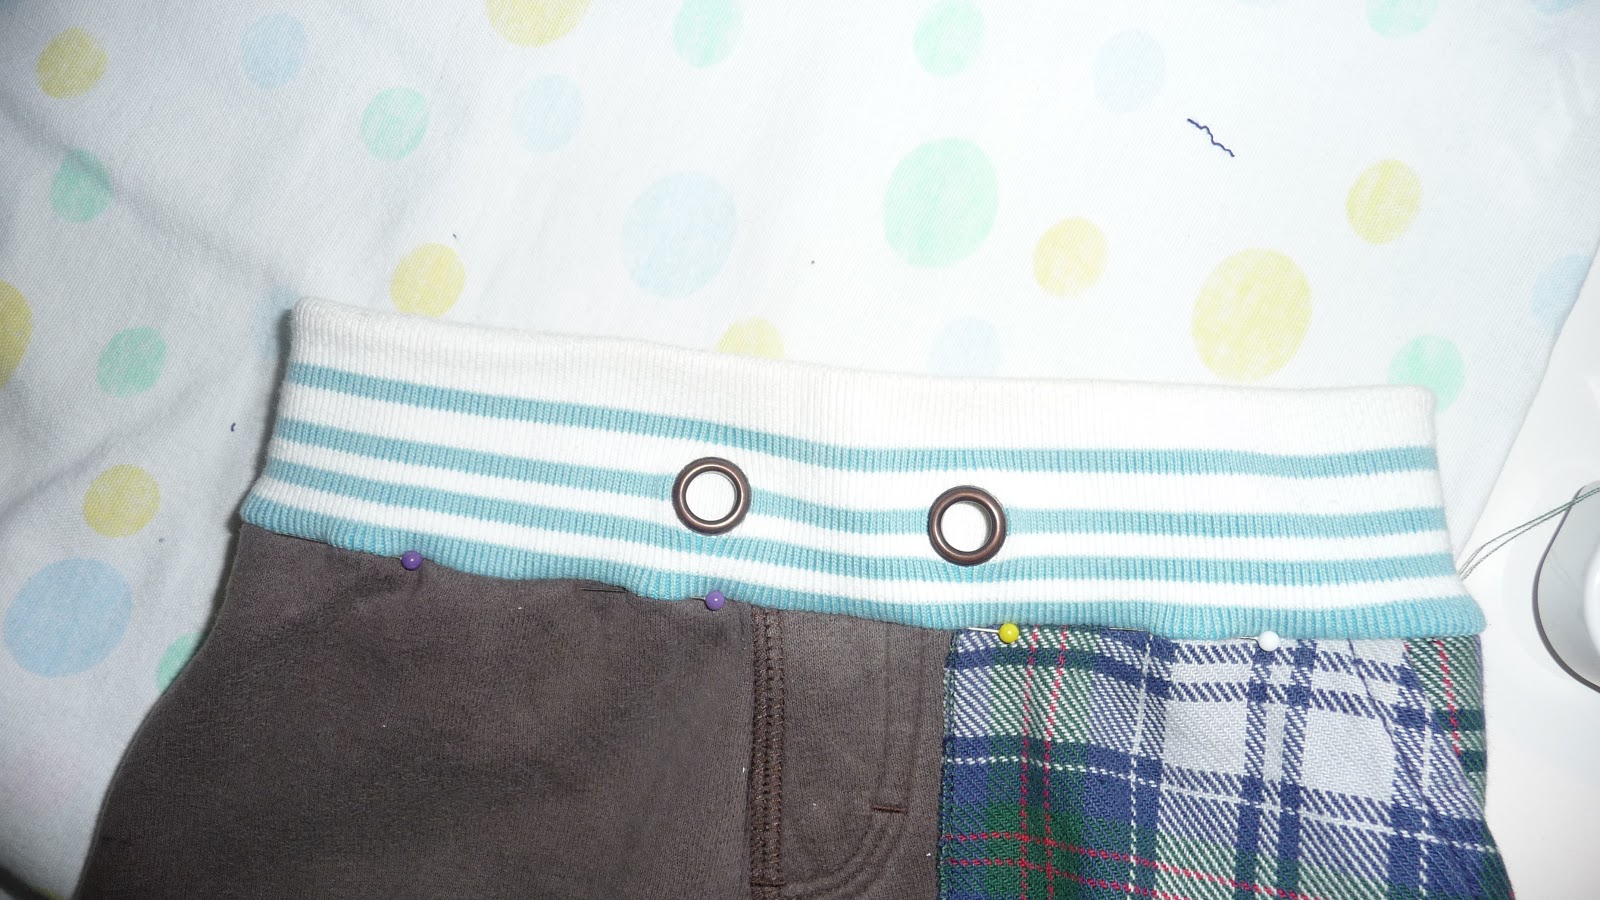
Now onto the waistband. As you probably figured already, this is what the skirt was used for. I replaced the original one, to gain some length on the upper side too. I basically just cut off the waistband from the skirt and cut it down to the lenght of the original one. Here it is, already zigzagged all around:
Next, I took the removable part of my sewing machine off, to make it easier to sew around the tiny waist.

Now I pinned it very carefully, making sure I'm pinning all the layers.
 |
| This is what it looked like from the inside |


Now I just stitched as close as I could to the waistband, making sure I don't stitch through the outside part of the waistband, this way making it almost invisible.
When I finally sewed the crotch back together they looked like this leaving me with one last task...which actually started it all - LENGHTENING the pants to fit my son.

I used one of his fitting pants to measure the needed length, cut off
the bottom of my pants with their existing seam, measured the width of
his pants, and made a ring.

I zigzagged it across the seam several times, because I wanted the zigzag to be visible from the outside.
When I stiched it to the pants, I tried to follow the original thread trace, to keep the original look.
And voila! We are done:
I hope the tutorial was understandable. If you have any questions, please feel free to ask, comment, or write me an e-mail. This is my first tutorial ever, and I must admit it was much harder to write it than to make those pants.
Hope you come back for more!
Petra
Update: Linked to the
Get Your Craft on Tuesday link party!


 Now I just stitched as close as I could to the waistband, making sure I don't stitch through the outside part of the waistband, this way making it almost invisible.


